
Create a children’s book illustration with DynamicSketch in Adobe Illustrator
6 minute readIn this tutorial, you will learn how to create a cartoon-style illustration using textures. If using DynamicSketch you won't actually need a lot of tools for this kind of work because it can draw as both a pencil and a brush. In addition to this, the DynamicSketch Tool has many convenient features that make your daily creative work much easier.
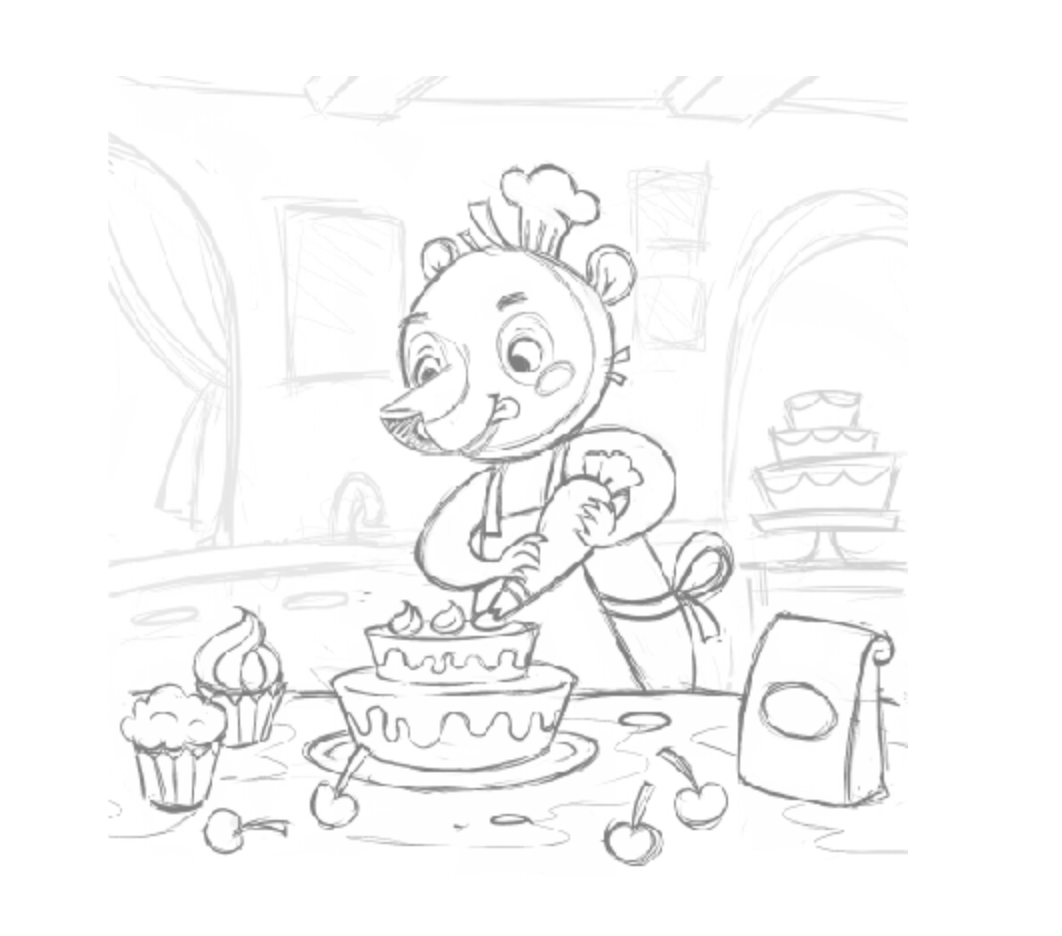
In this tutorial I will be using the sketch of a Chef Bear, created by Oksana Golovenko
Begin by Pasting the sketch into the current document (File > Place…) and set 50% opacity for it in the Transparency panel, and then lock the sketch in the layers panel.
Creating objects
You can use different drawing tools to create vector objects, such as the Pencil Tool or Pen Tool. For these purposes, I prefer to use the DynamicSketch Tool as I find it the fastest and most accurate way.
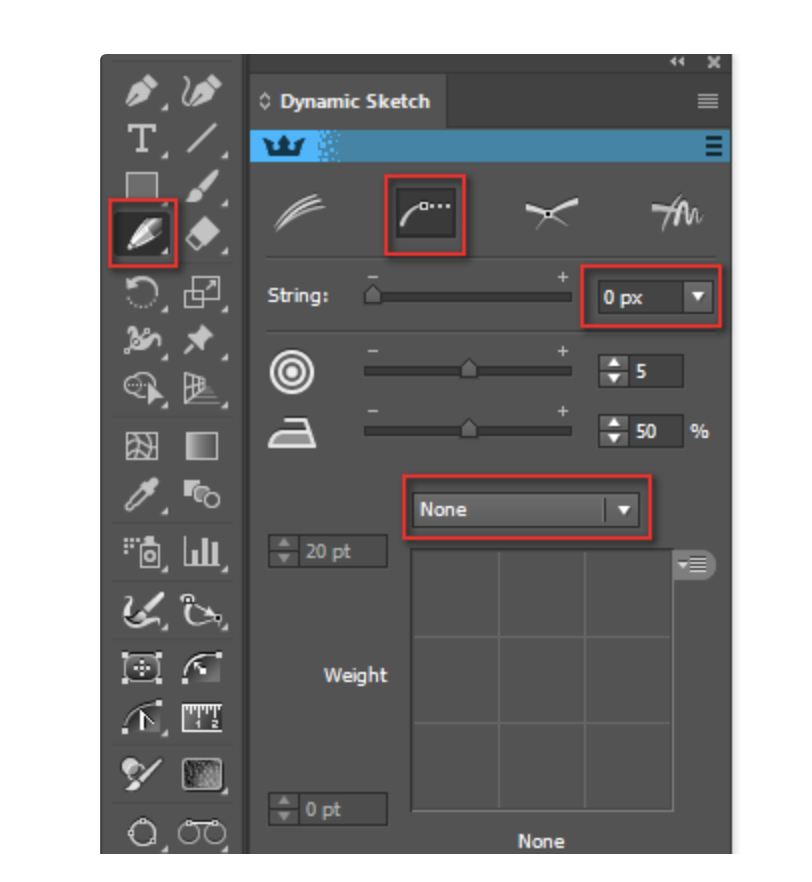
Select DynamicSketch in the Tools panel and adjust the tool in the opened DynamicSketch panel.
Next, turn on the "Edit, continue or join paths" button, set 0px for String (nonzero values of this option are needed for drawing with DynamicSketch as a brush) and set "None" for Width stroke options.
Now turn off the fill, turn on the stroke of any color and start drawing the background objects.
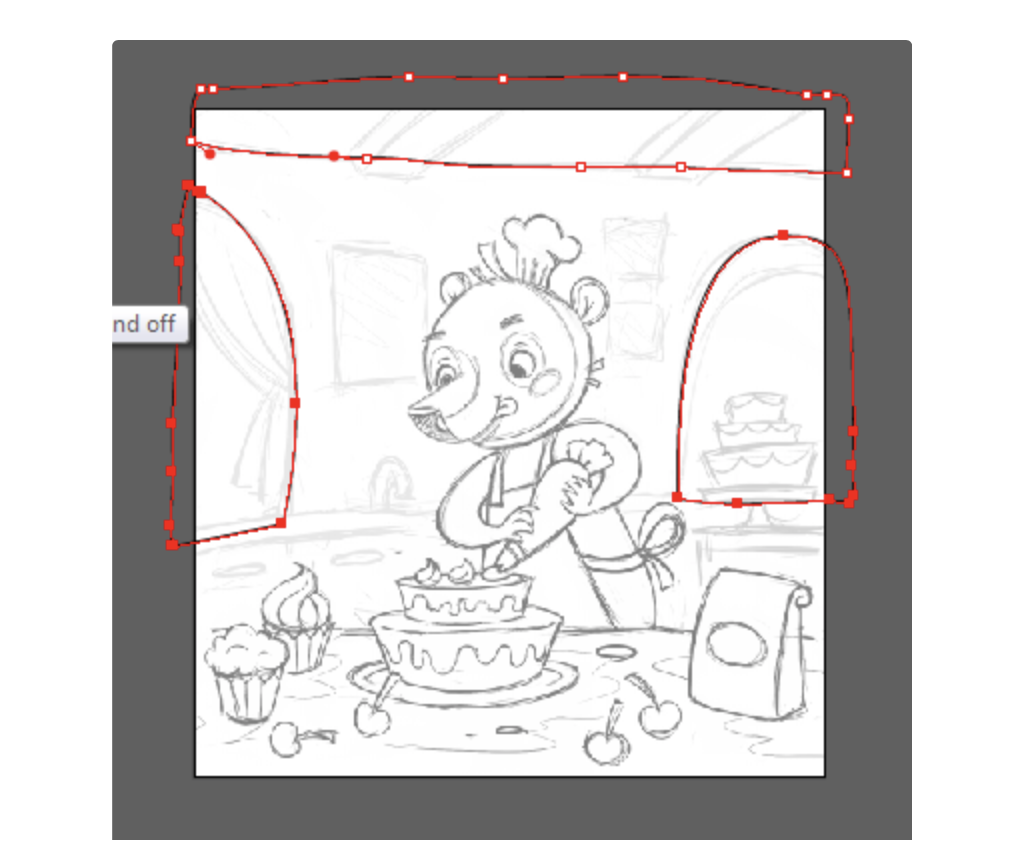
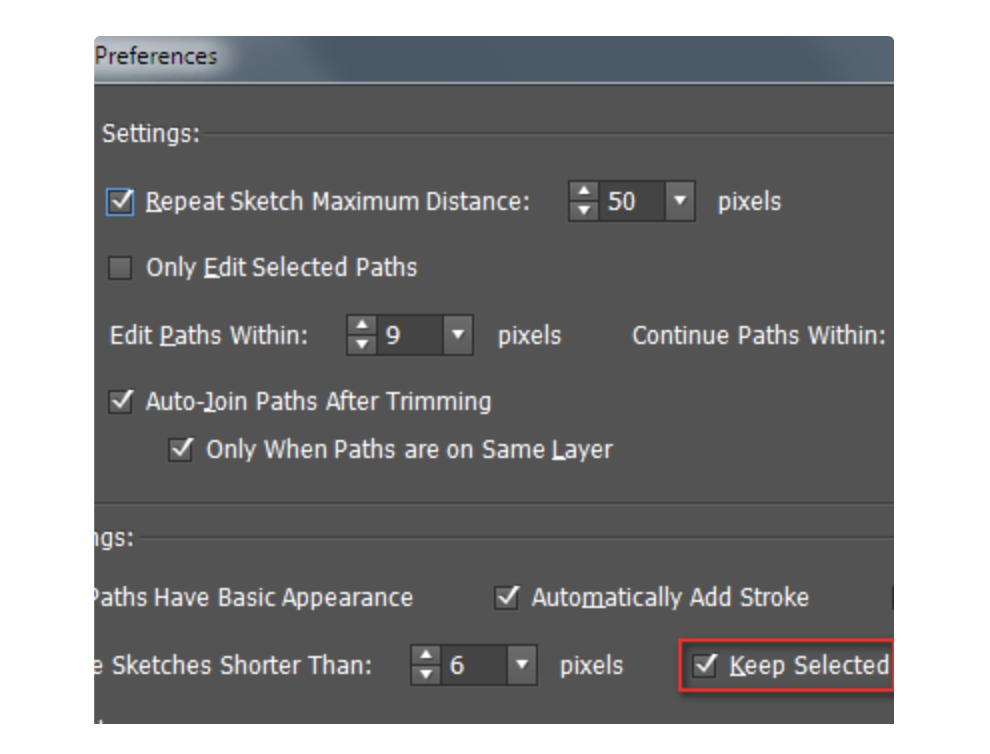
To create objects with sharp corners, it is convenient to use the "Intelligent path joining" feature, which turns on in the DynamicSketch panel. Also turn on the "Keep Selected" option in the DynamicSketch Preferences dialog box (press Enter to open it).
Now when creating intersecting paths, they will automatically crop and join at the intersection. To create straight-line paths, hold down Opt / Alt while drawing.
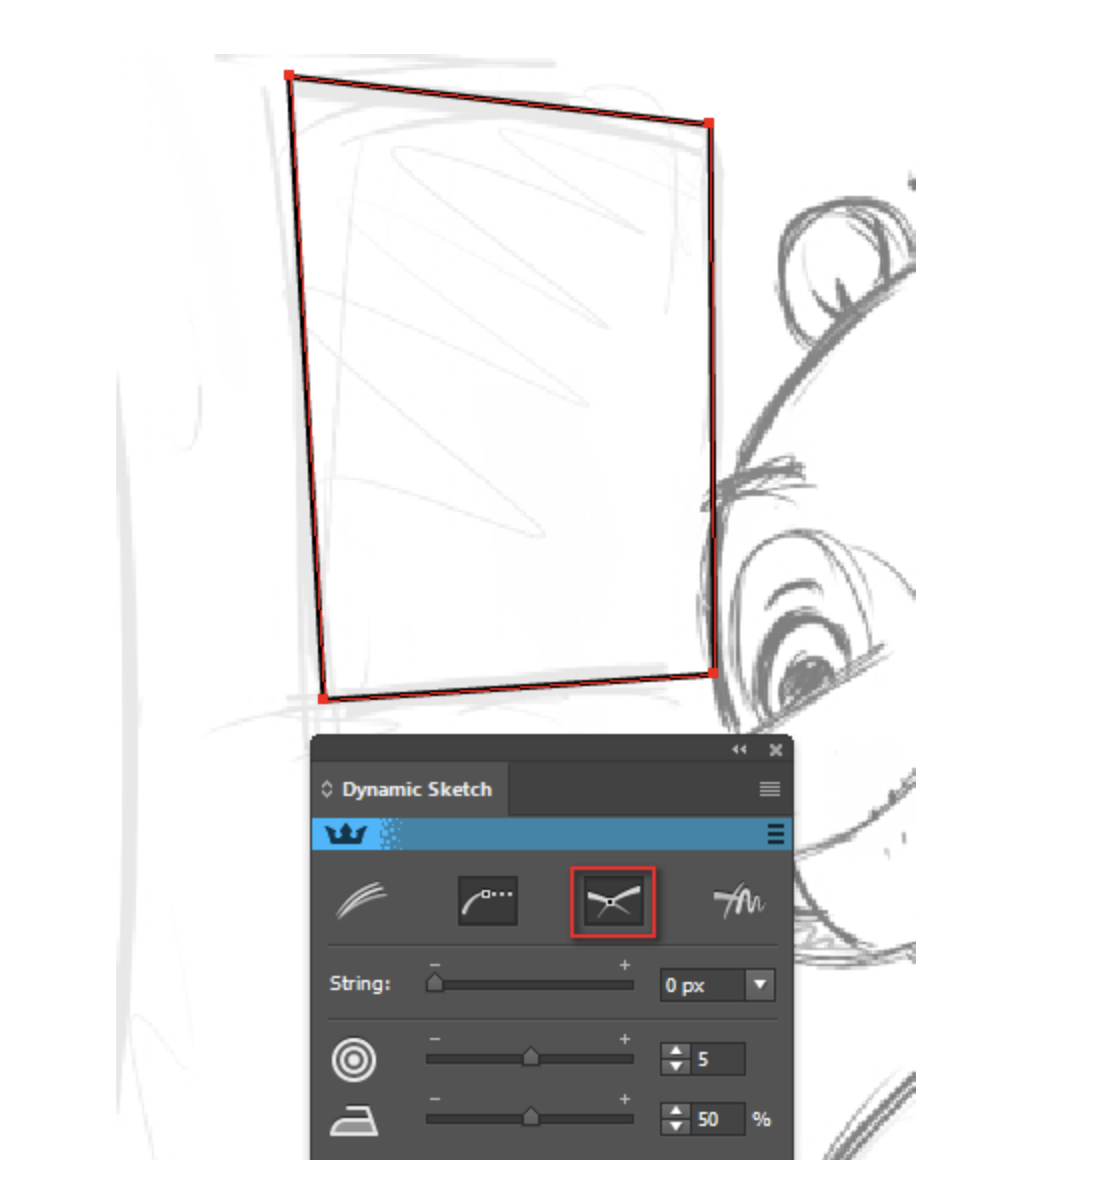
To quickly draw an object inside the borders of another object, it is convenient to use the Draw Inside mode.
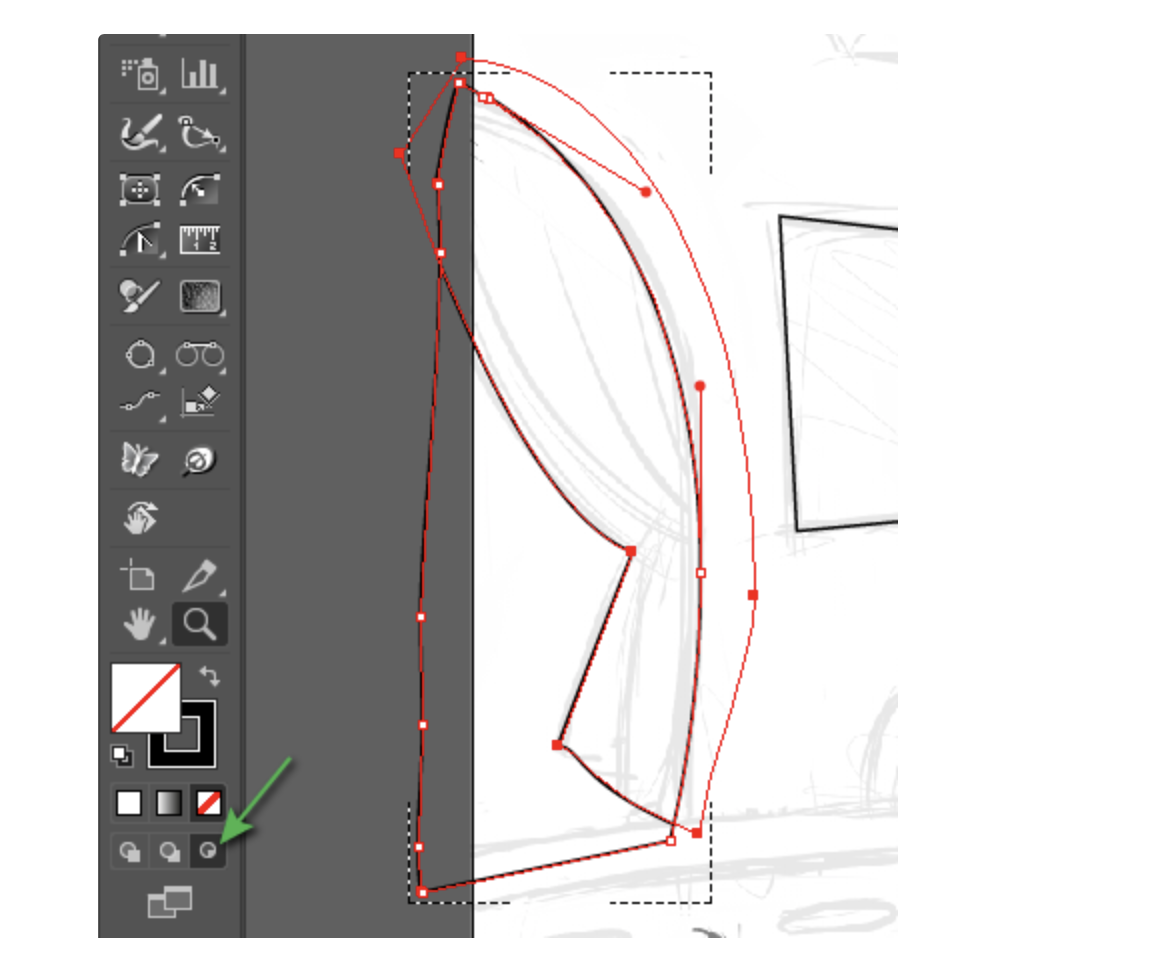
Despite the fact that the DynamicSketch Tool has a smoothing function, in the process of manual drawing there may form extra points. When all the objects are created, we can quickly remove the extra points using the "Super Smart Remove Points" feature of VectorFirstAid.
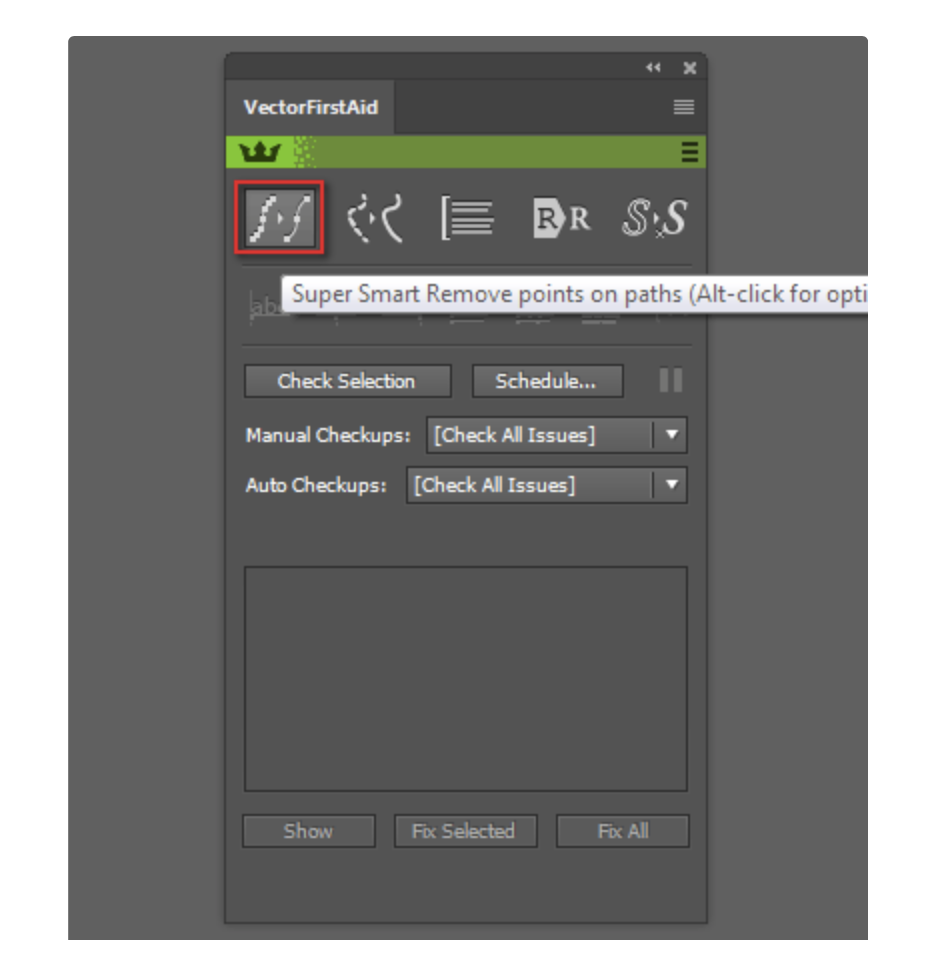
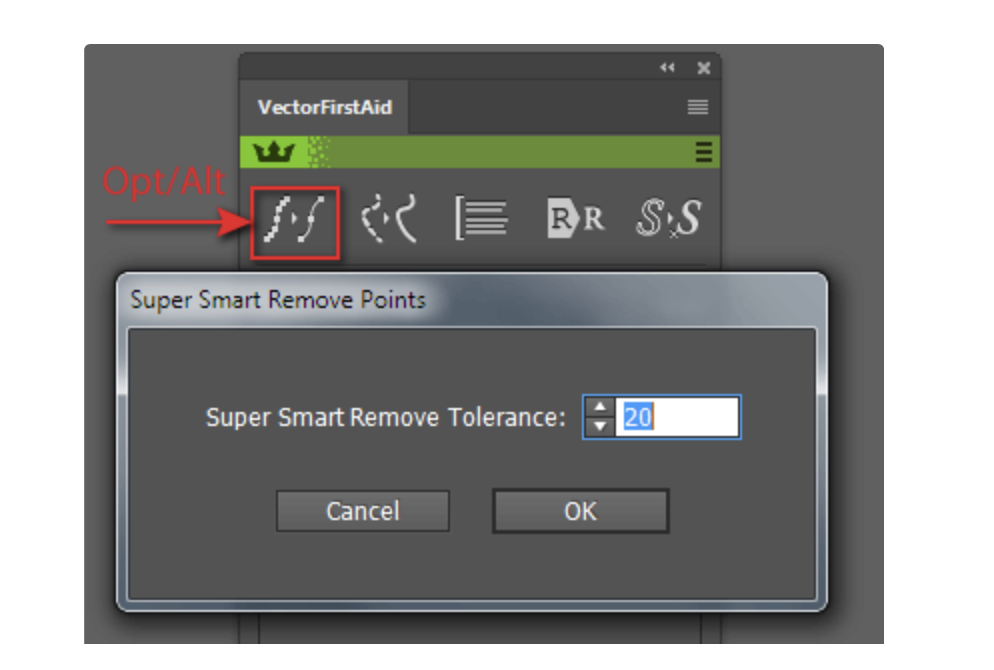
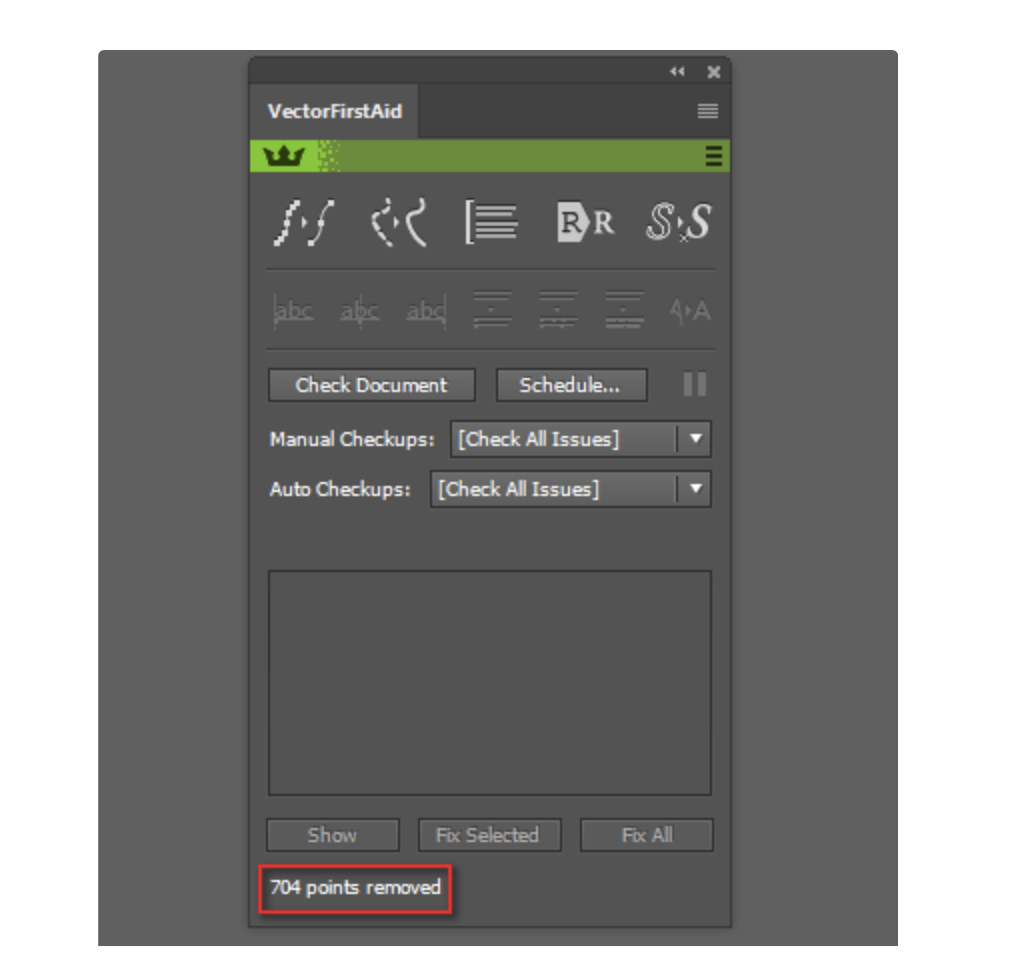
One click on the button in the plugin panel will not only remove thousands of points and make the paths smoother, but also significantly reduce the file size. The deletion occurs within the tolerance of the change of path trajectory, which you can set by clicking on the button in the panel, while holding Opt / Alt.
After creating the contours of all the objects, I painted them and turned off the stroke.

Creating a texture brush
To create a brush, you will need a grunge texture similar to the one shown below.
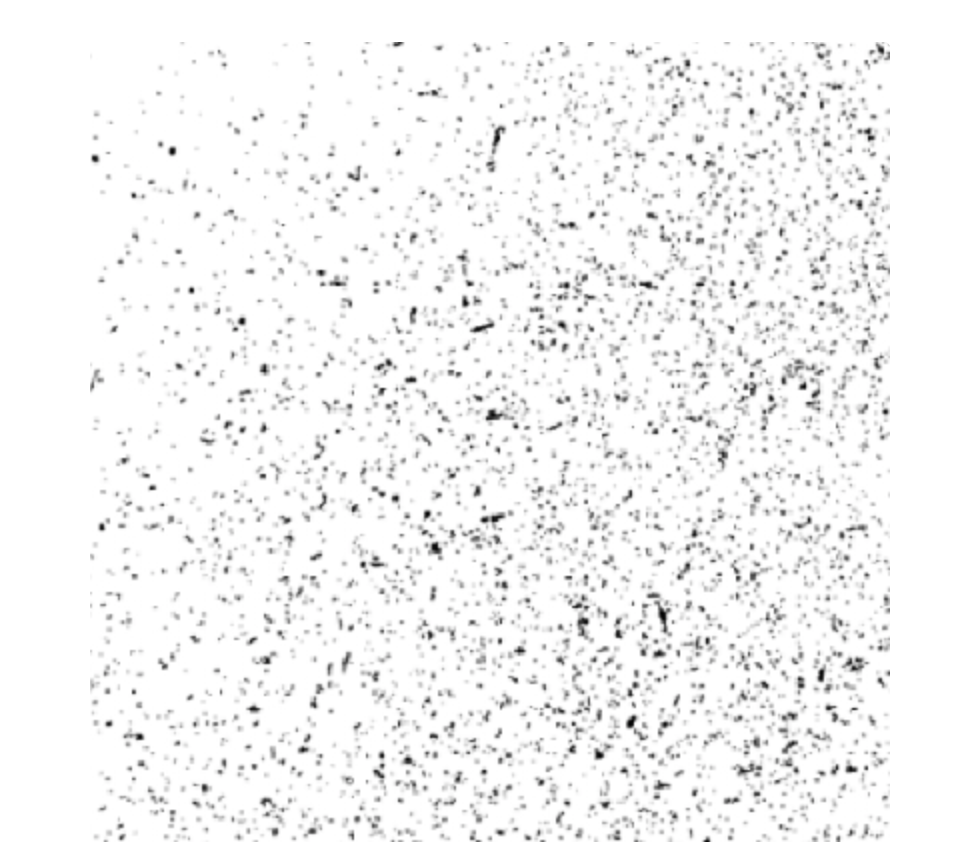
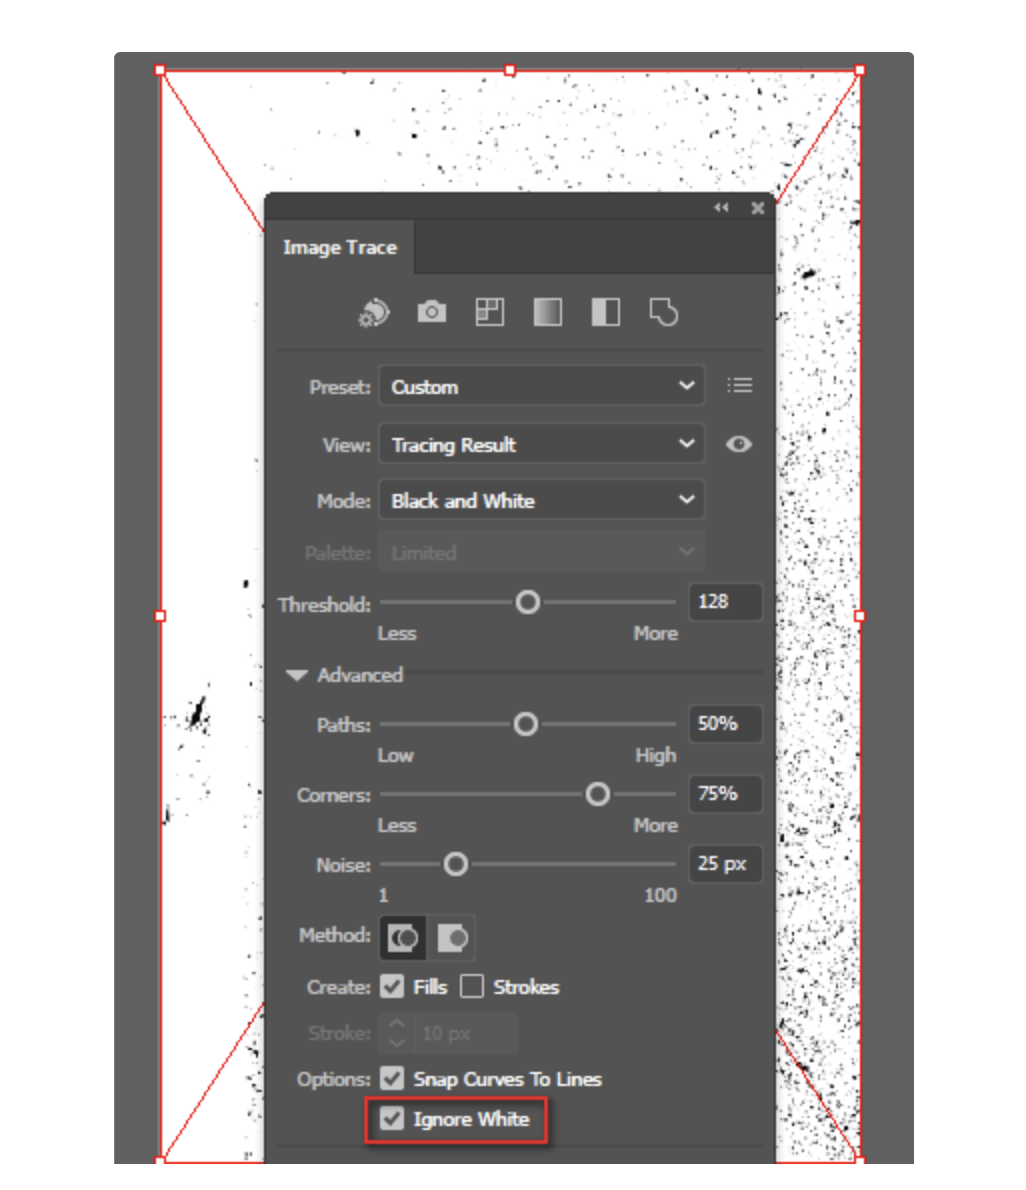
If you are a Texturino user, you can use the appropriate raster texture contained in this plugin. The texture must be converted to vector objects using the Image Trace panel.
Then I divided the resulting vector texture into fragments and removed a lot of extra points from the objects with the Super Smart Remove feature of VectorFirstAid.
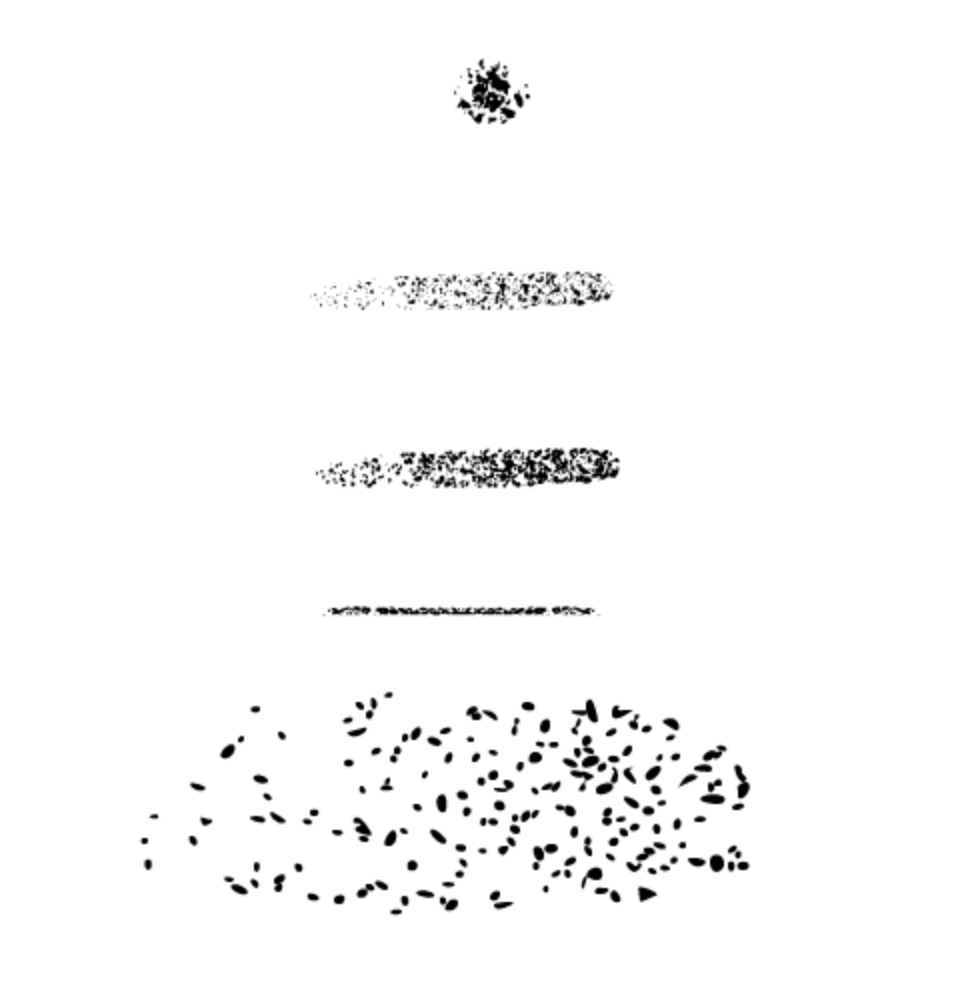
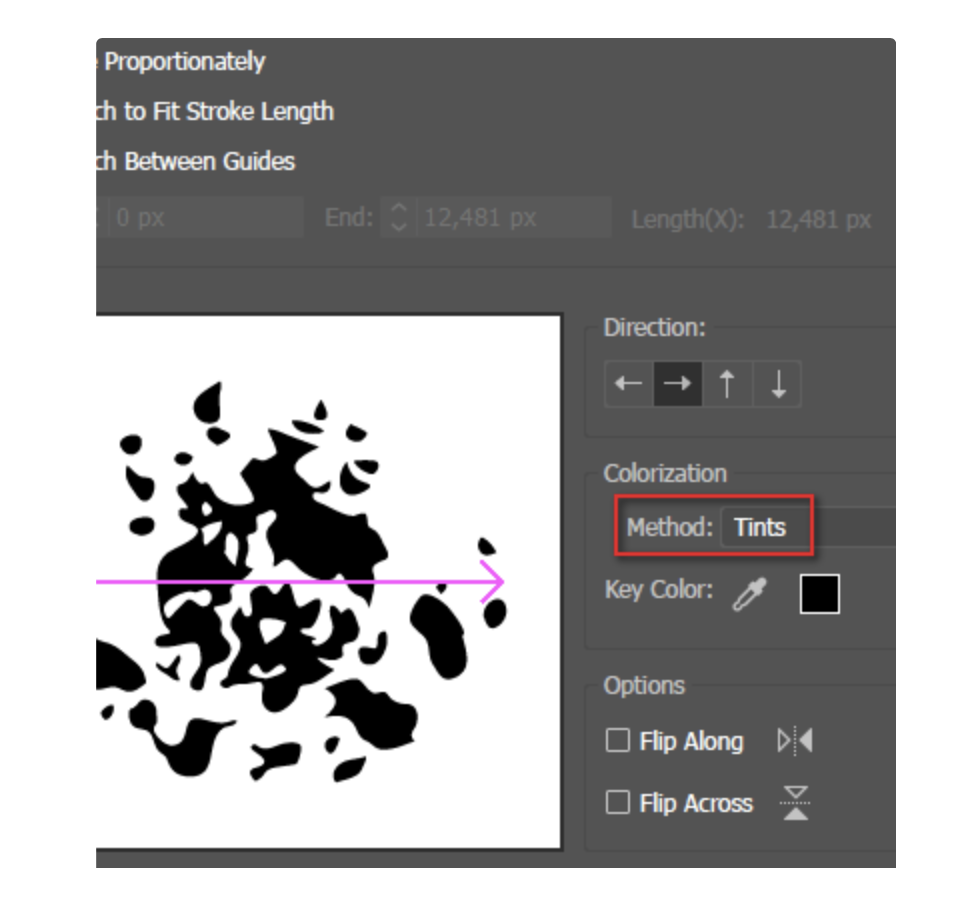
The above mentioned texture fragments must be saved as Art Brushes in the Brushes panel. You will then need to select the Tints Colorization method for each one in order to paint strokes with the stroke color.
Texturing Illustration with DynamicSketch
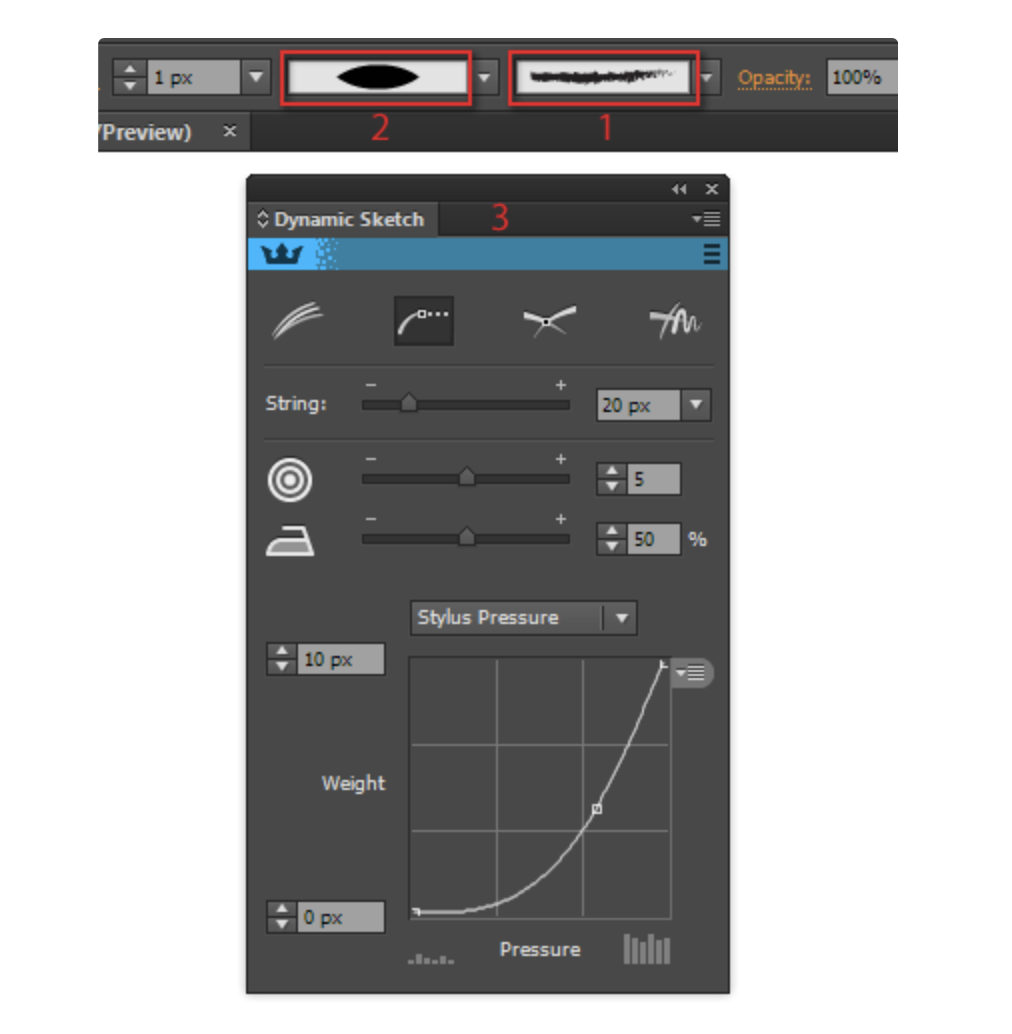
Art Brushes are compatible with variable width paths. So you can draw using these brushes with DynamicSketch, because it creates variable width paths. To do this, select the brush and set any width profile in the Control panel. Then set the necessary parameters in the DynamicSketch panel and draw.

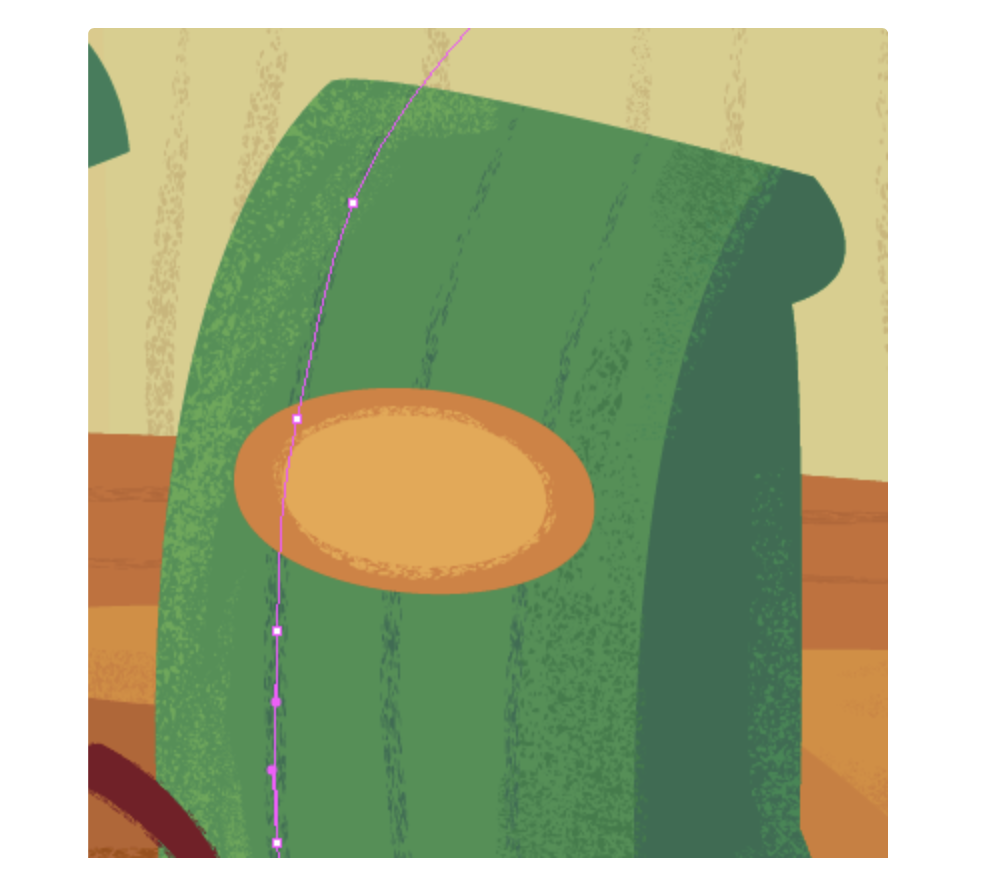
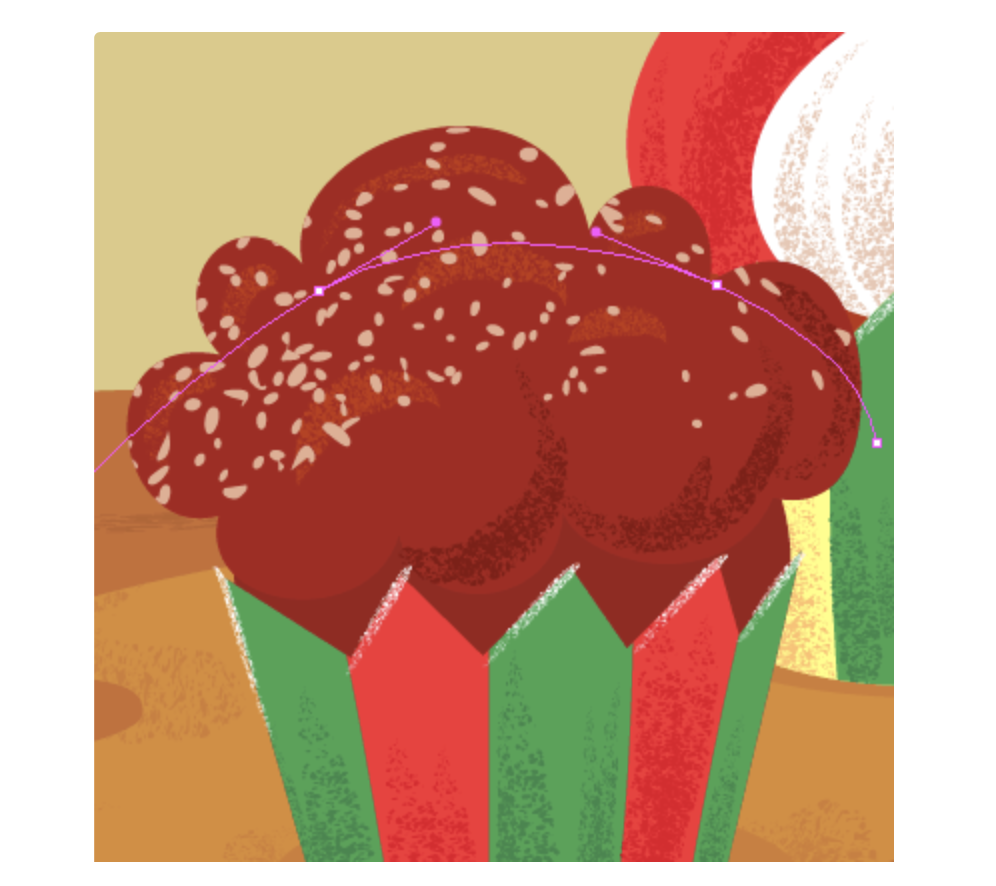
The Draw Inside mode will help you to stay within the boundaries of objects when applying textures.
